220 Gallery
S#105669
Soemtron ETR220 Calculator S#105669 Gallery
Skip to navigationAll unmarked images ©2007- www.soemtron.org
Our unit arrives!
When the unit arrived from Prague it was evident it had been stored badly and not been cared for, for many years. It was extremely dirty, rusty and corroded and the power supply was missing with just the cut off wires from the temperature sensing thermistor and the power supply plug remaining. The keyboard and all of the keys were seized solid, none of them worked, so it was not much of a surprise to find that most of the keyboard return springs had completely rotted away. Rust was also evident in many other parts of the machine, showing it had been stored in very damp conditions for a very long time. This machine is going to take a lot of attention to get it back to some sort of operating condition.
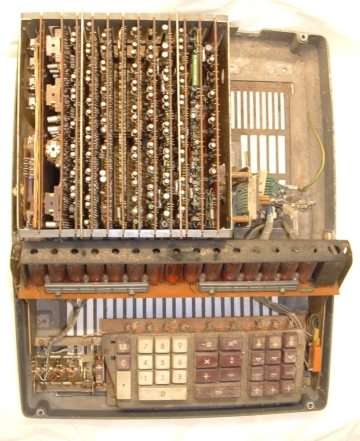 Top |
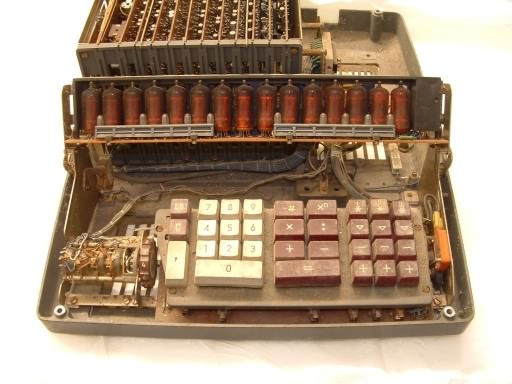 Front |
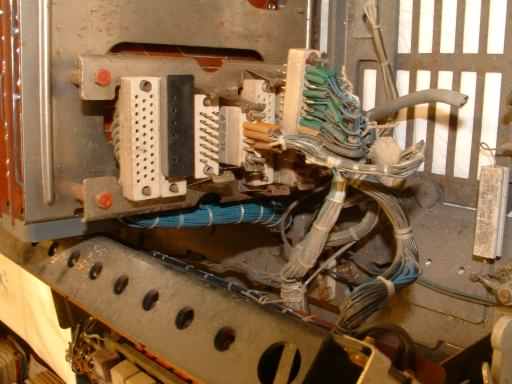 Internals |
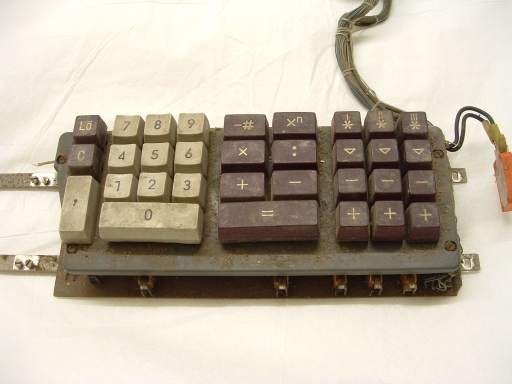 Keyboard |
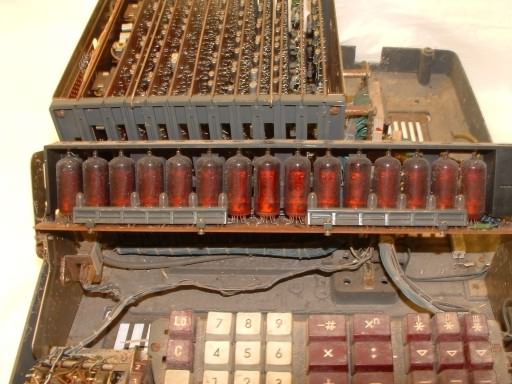 General inside view |
Our unit in its original state Click any photo for a larger image | ||
The rebuilding
Photos here show the parts of our Soemtron ETR220 as we recondition and rebuild her, the improvement of some of these parts is quite remarkable. The keyboard was probably the worst of the assemblies from the whole sorry unit, all the keys were jammed in various positions and after careful disassembly it was found that this was caused by most of the key pins being rusty, with 80% of the key springs having rusted completely away, these were replaced with closely matching springs from our "bits" box. It also came to light that the last wafer of the DP selection switch was badly corroded and was working only intermittently. Careful disassembly and cleaning has brought it back to life.
In general all parts of this Soemtron ETR220 were cleaned using only hot soapy water and then dried in a hot cupboard for about a week, badly rusted metal parts are carefully de-rusted with wire wool or emery cloth and then polished, again in hot soapy water with a cream cleaner, this brings up the remainder of the original plated finish and cleans off the remaining rust. We are not going the extent of re-plating the metal parts, but leaving them so what remains of the corrosion sites can be seen as an indicator of its original sorry condition.
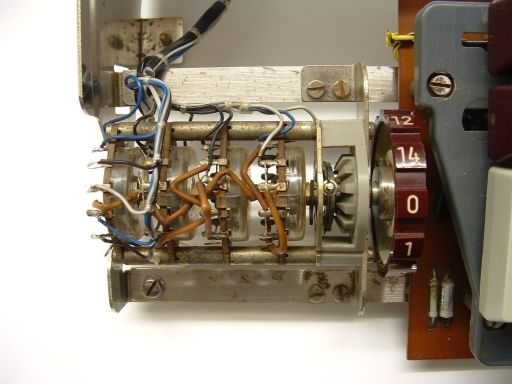 DP Selection unit |
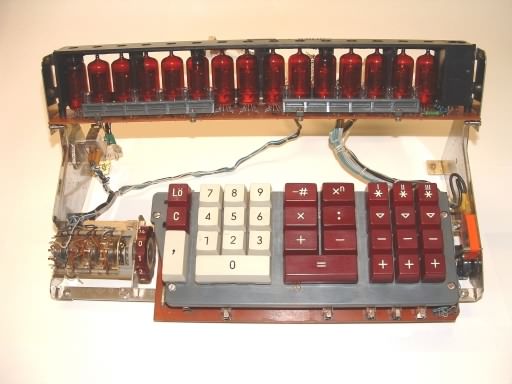 Display and keyboard |
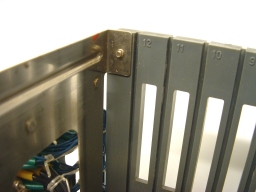
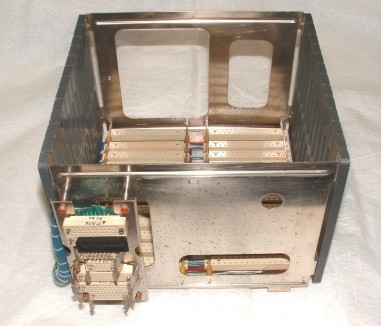 Card cage |
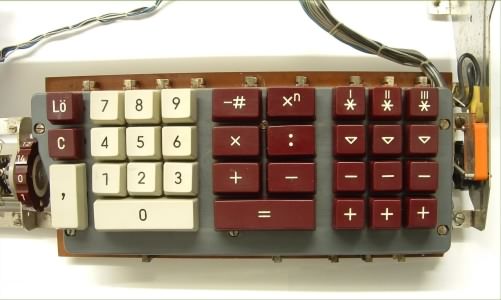 Rebuilt keyboard |
| Click any photo for a larger image | |||
Refurbishment completed
Our original Soemtron ETR220 that kicked this website off is now back together and fully assembled, photos are below and we think she looks quite good even if we say so ourselves! All the dirt, dust, rust and detritus has gone, and without a respray she is as near to original as we can get her. The power supply wiring has been replaced ready for a new donor power supply, or a time when we can get down to building one. Compare these photos with those above to get an idea of the state this machine was in!
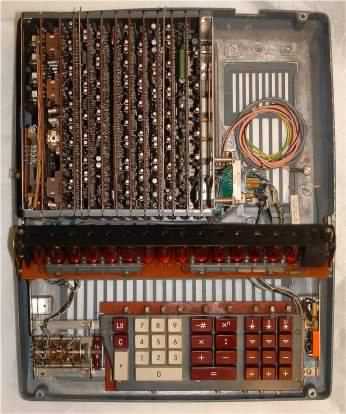 Top |
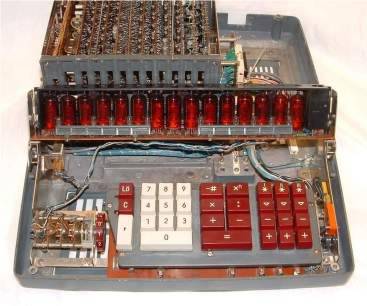 Front |
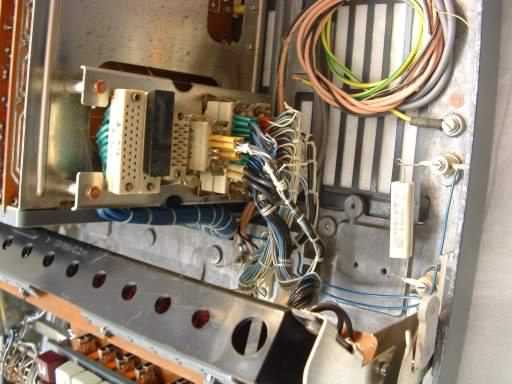 Internals |
| Compare with "Our unit arrives!" above. Click any photo for a larger image | ||
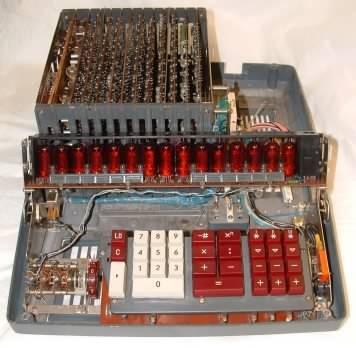 Front |
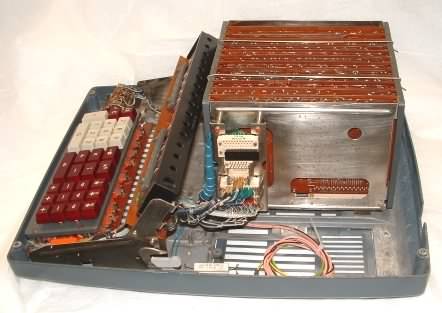 Power supply side |
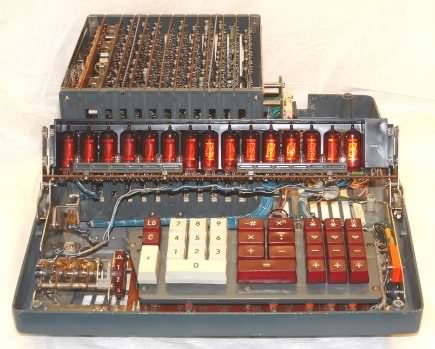 Front |
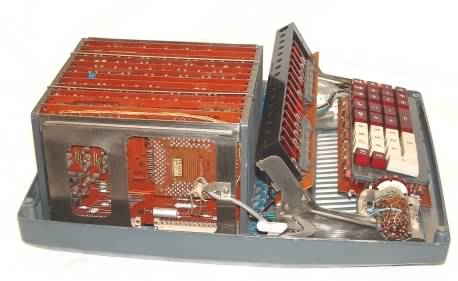 Memory card side |
Click any photo for a larger image | |
The Boards
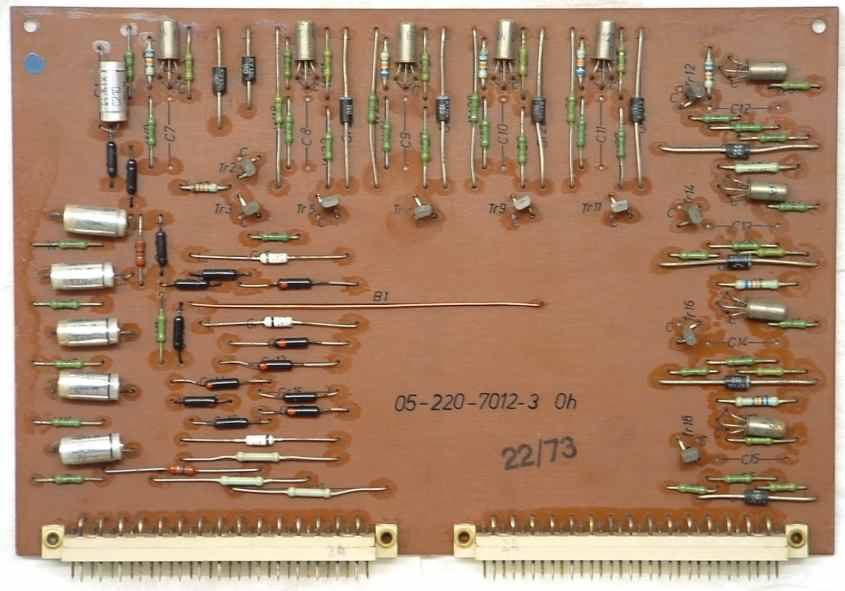
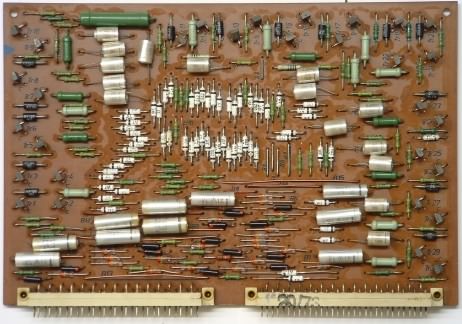
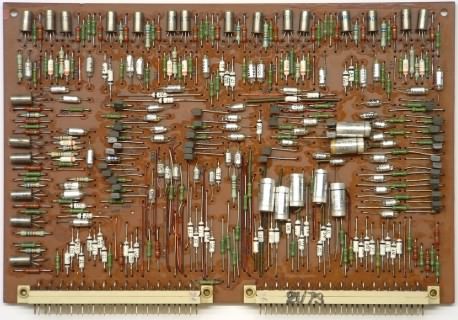
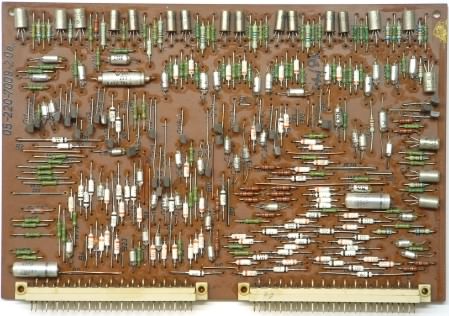
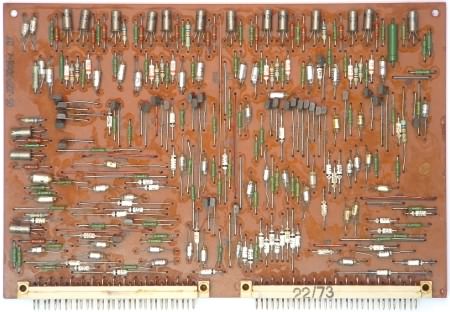
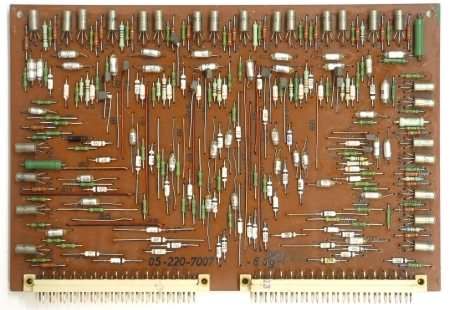
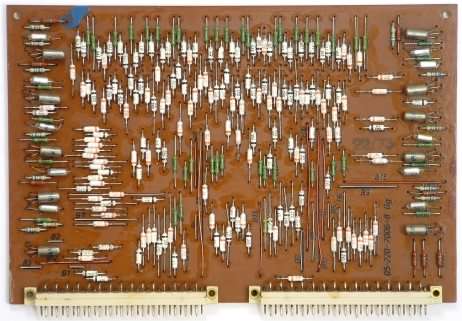
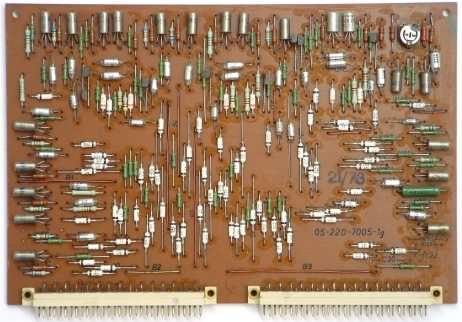
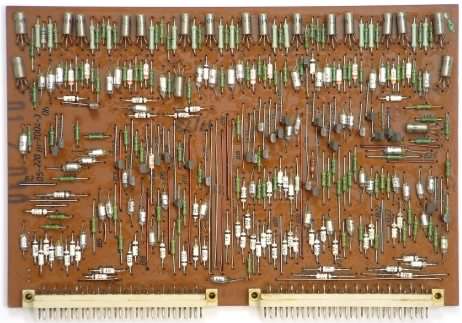
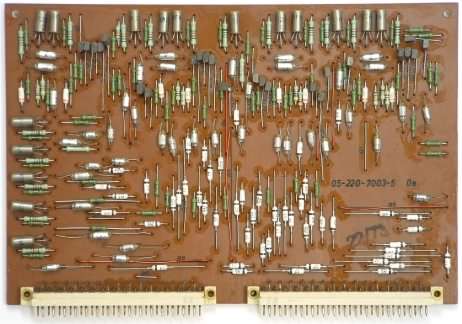
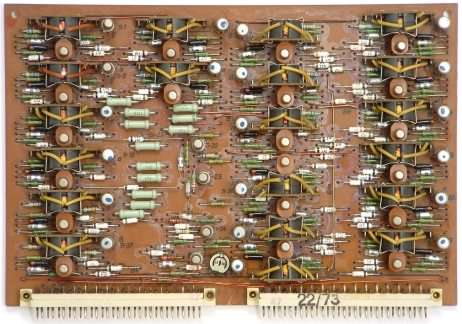
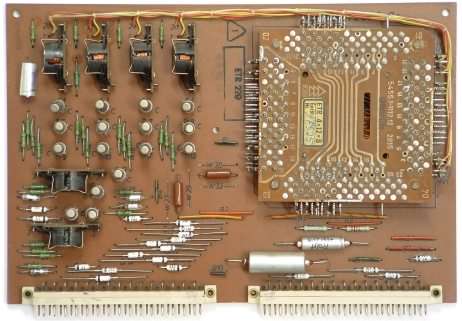
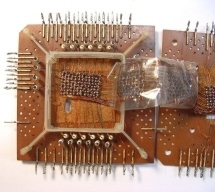
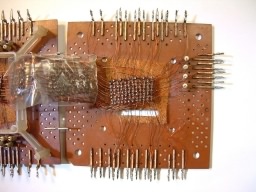
This section has photos of each of the twelve boards from our original Soemtron ETR220 (S#105669). Some of the boards require slight remedial rework, mostly to replace board links that are possibly shorting to nearby components, or to shorten the leads of some capacitors whose leads are too long, which again could be at risk of shorting with other components. The boards are numbered in the same order as they appear on the inside of the card cage, that is board 12 (Cathode drivers and gating) which is nearest to the power supply, to board 1 (Core memory) furthest from the power supply. Apparently, earlier revision machines were built in the opposite order, with the Core store nearest the power supply and board 12 furthest away, we presume the change was made to reduce the susceptibility of the core store units to temperature changes from the power supply.
All of these boards are from the original unit, serial number 105669, and are shown after light cleaning with a small brush, otherwise they are untouched from the received condition. Some of the boards will need a little rework to cover some of the wire links that are rather close to components, straighten a few components and re-solder a few joints. Then we might try to power her up for the first time in many years!
Site design ©2007- - privacy -
